
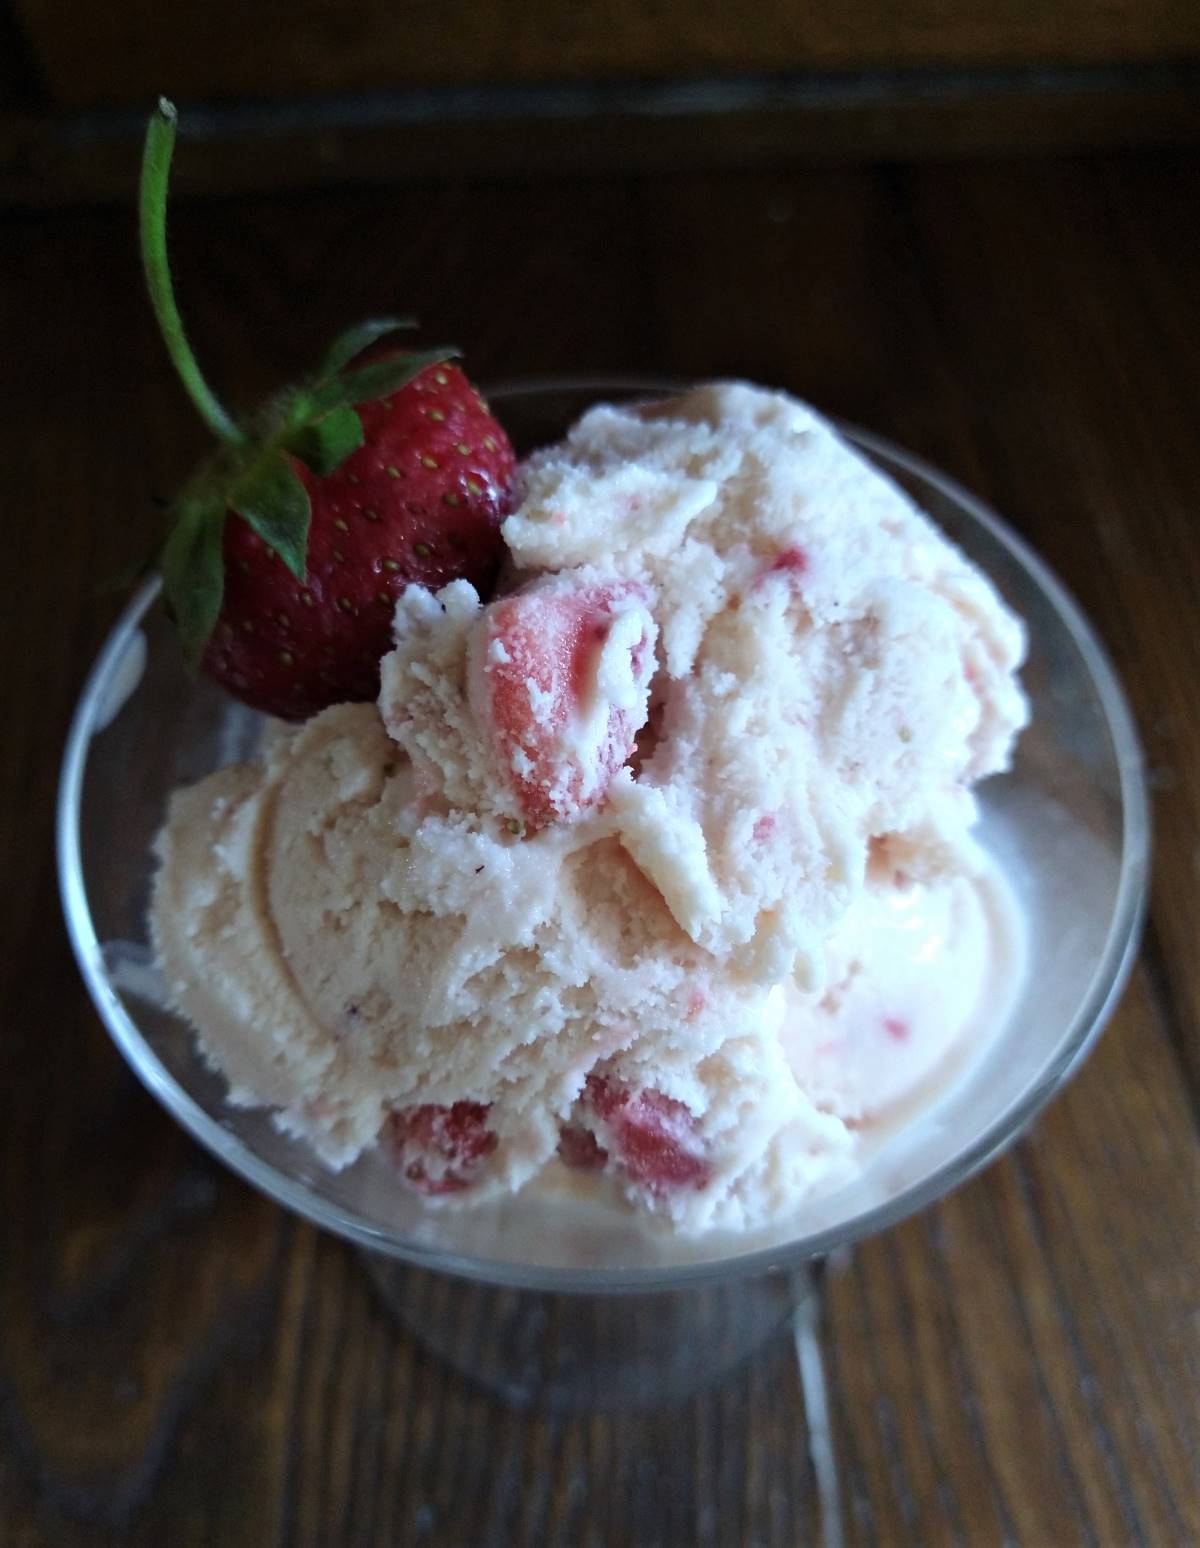
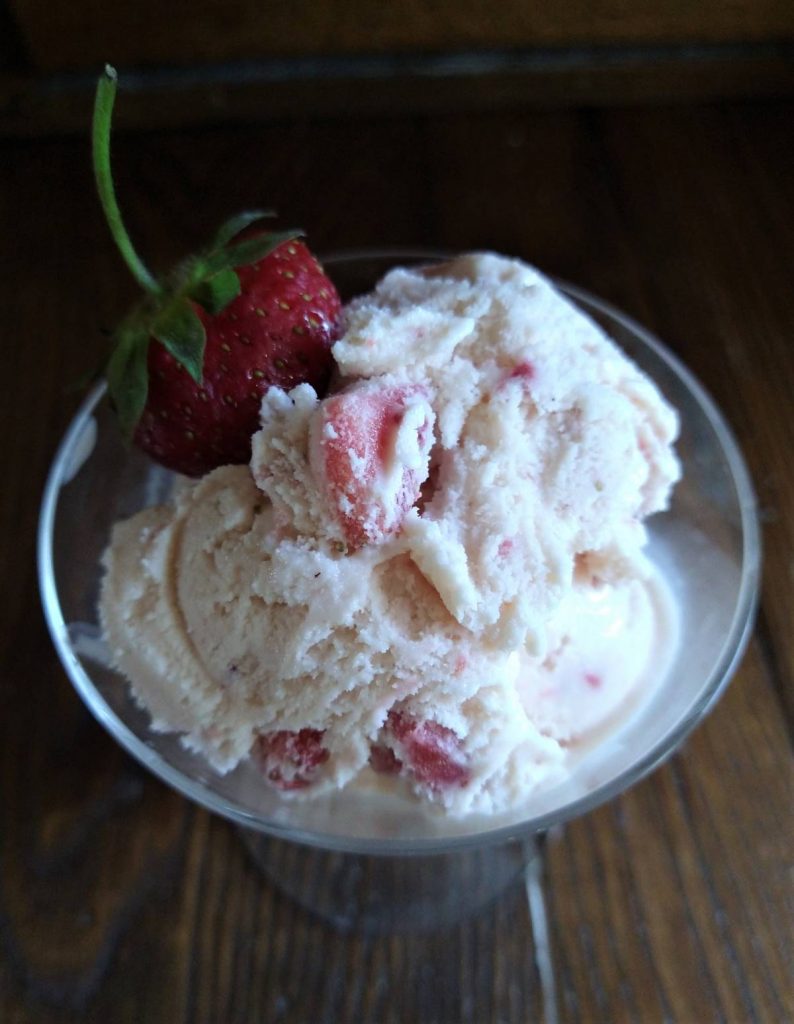
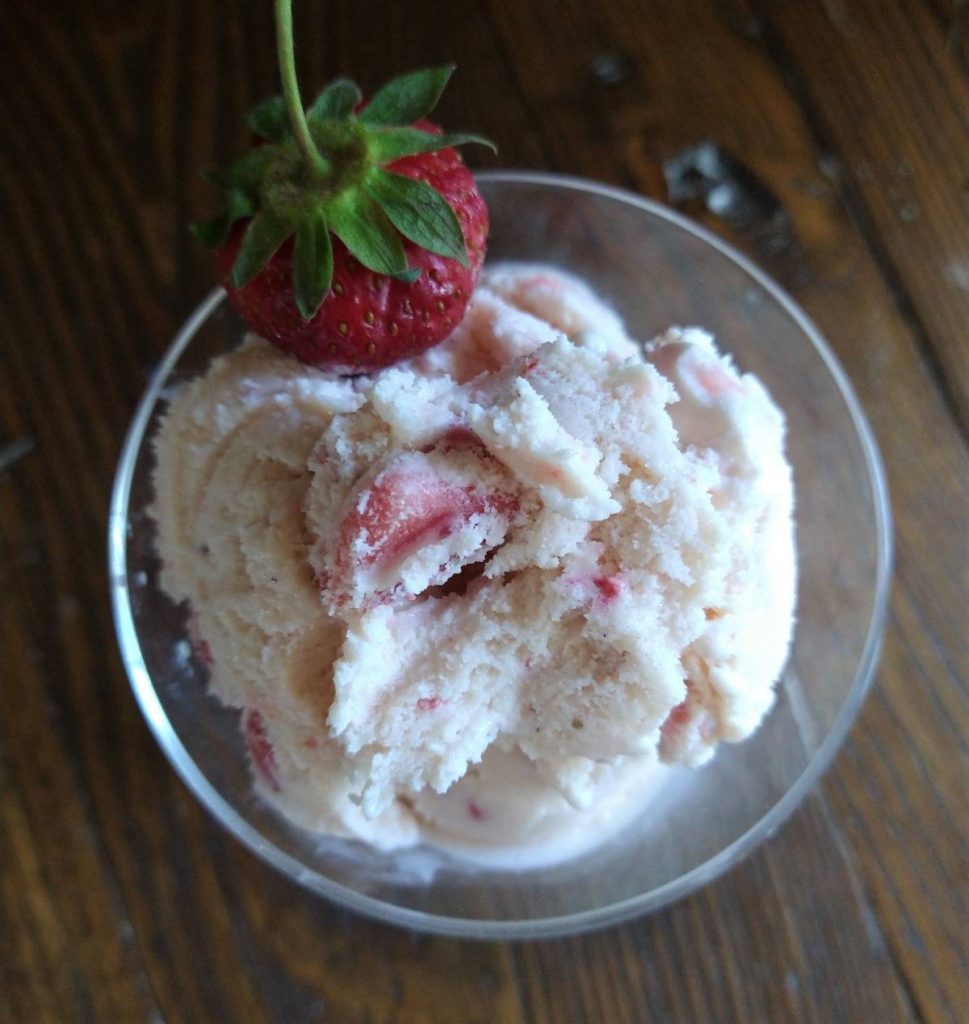
This easy and delicious Strawberry Ice Cream is perfect for when you’re short on cream but in need of some summery, good old-fashioned scoops of pink sunshine!
Strawberry Ice Cream should be the official dessert of summer: bright, fresh, creamy, and perfectly nostalgic. It’s just bursting with pink, summery sunshine and old-fashioned vibes.
But what if you’re short on cream or you want a cold dessert that’s not quite so high in fat? Is that even possible when it comes to homemade ice cream? And would it taste good? What if I told you that, yes, it is indeed possible! And that you don’t need any fancy ingredients to make it?
Ice Cream and WWII
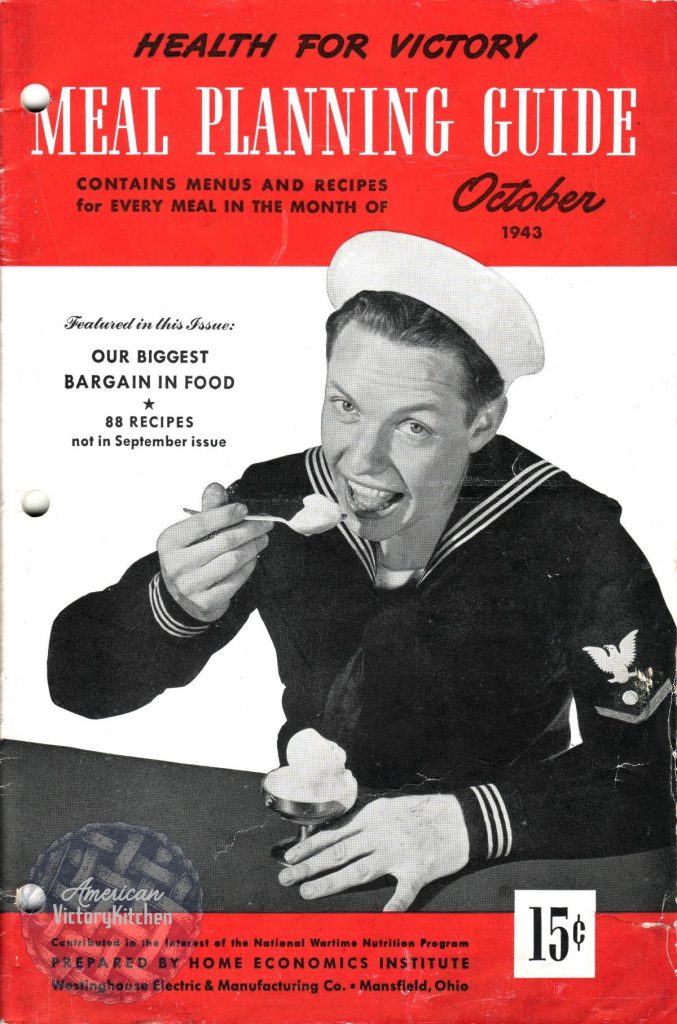
Americans loved their ice cream, and despite cream rationing and shortages during WWII, they figured out how to make ice cream with less fat and even less sugar. There’s no way they were 100% giving it up just because of a war! Ice cream was a serious morale booster for civilians and soldiers alike. Naval ships were sometimes even fitted out with a “mechanical cow” that could turn powdered milk into creamy liquid milk which they could then turn into ice cream right aboard ship.
You can listen to my entire podcast episode Ice Cream Goes to War to learn more about this fascinating aspect of WWII American history!
When you went off to buy some ice cream during the war, one way to show your patriotism was to order “half and half”: half ice cream, half fruit sherbet. It saved on precious cream and the reduced amount of ice cream available was stretched to even more ice cream-hungry people.
There’s definitely a happy ratio for making rich, creamy ice cream. There needs to be a certain percentage of fats in proportion to the other ingredients. When you’re in that golden ratio, ice cream is scooped in a smooth, creamy ball that melts just right and satisfies all the taste buds. If there’s not enough fat, the ice cream is crumbly and forms unpleasant ice crystals.
This article from Fine Cooking gives a great explanation about what gives ice cream great texture and even talks about the use of evaporated milk or powdered milk – which is a trick they used in wartime!

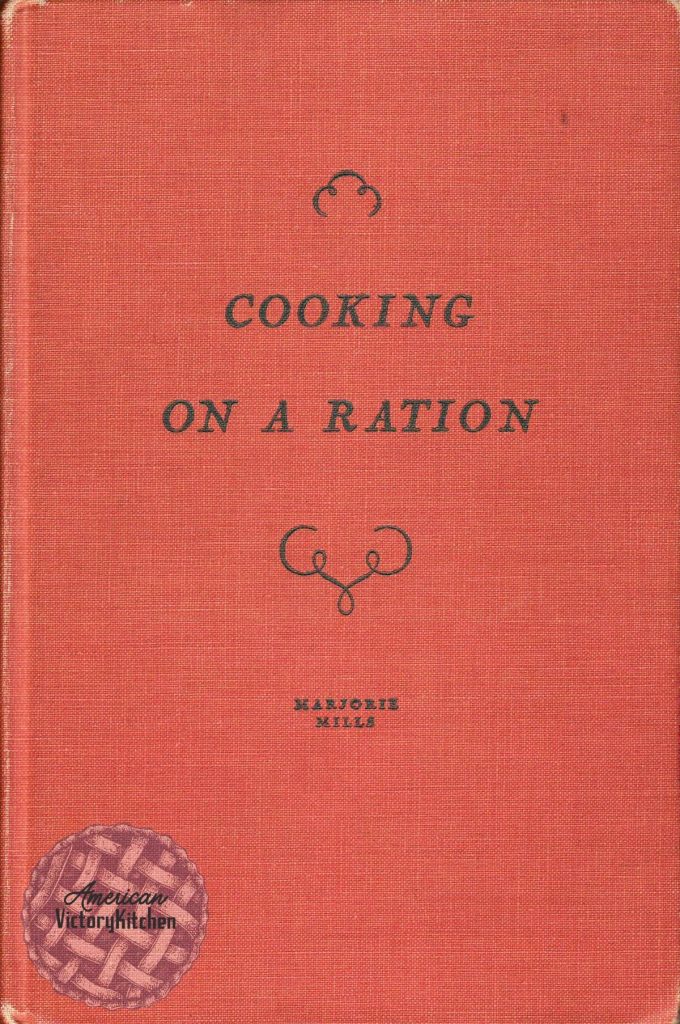
The recipe I used for Strawberry Ice Cream is based off of a recipe called “Wartime Ice Cream” from the 1943 cookbook Cooking on a Ration or Food is Still Fun by Marjorie Mills. The original recipe calls for fun things like maraschino cherries in the recipe, but I adapted it to make strawberries the star of the show. It also makes use of cornstarch to help thicken it, another trick they used to make up for less fat in the recipe.
Top Tips for Making this Easy Strawberry Ice Cream
- When cutting the fresh strawberries for this recipe, chop them pretty small. If the pieces are too big, you’ll have to gnaw your way through large solid strawberry chunks while eating the ice cream. If this doesn’t bother you, customize the strawberry size to your preference! I made mine a bit too big and didn’t enjoy biting into solid, frozen strawberry bites. It’s too much like fingernails on the chalkboard for me!
- After churning the ice cream, freeze it for an extra 2 hours to make the ice cream more solid for good scooping.
- Because the fat content of this ice cream is lower, it does get crumbly the longer you freeze it. So, eating it fresh, right after making it, is the best way to go. It still tastes good no matter when you eat it! In fact, I found the leftovers in the freezer a week or two later. I softened it in the microwave a bit and then plopped a scoop on a warm brownie and topped it with whipped cream. It was amazing! I definitely recommend that serving recommendation.
- **Serving size note: Our ideas about ice cream servings are drastically different from the 1940s. In modern times ice cream servings at restaurants or ice cream stands are enormous! But it you look on the side of an ice cream carton, a true serving size for today is only 1/2 cup. This is closer to what a 1940s serving size would have been. As such, this recipe doesn’t make a whole lot – only about 2-3 cups. (Their freezer compartments weren’t that big either…) If you’d like to make more, and you have the space, feel free to double the recipe!

Tools You Might Need:
- Double Boiler – a stainless steel bowl nesting in a pot works just as well and is what I have and use
- Whisk and wooden spoon
- Electric ice cream churn – it is very possible to make this recipe without one. Most wartime ice cream recipes in consumer cookbooks assume you don’t have a big ice cream churn bucket. Plus many people had tiny freezer compartments in their refrigerators by that time. So the recipes from that time instruct cooks to just freeze the ice cream in a shallow dish and stir occasionally to keep ice crystals from forming. You can definitely use this method too! An electric churn definitely speeds up the process though which is what I used and why I list it here.
- Ice Cream scoop – for eating right away. Because why wait?! A spoon serves this purpose just as well if you’re in a hurry and can’t be bothered.
Ingredients
- milk – I used 2%, but using whole (4%) will up that fat content and give a smoother ice cream. So, if you have whole milk on hand, lucky you!
- sugar – white sugar
- cornstarch – this is what will help thicken the ice cream custard along with the egg
- light corn syrup – corn syrup is a common ingredient in wartime ice creams. It was a way to save on precious, rationed sugar.
- salt – salt helps balance and bring out the sweetness of the ice cream. I like using Redmond’s Real Salt.
- egg – I used a medium egg, but large or even extra large will work fine.
- light cream – half and half, light cream, or a combination of the two work great. Even mixing these with that bit of whipping cream you have left at the back of your fridge is a nice way to incorporate more fat. You want mostly light cream though, so don’t use all whipping cream. Too much fat is also not good for ice cream.
- vanilla – vanilla extract will give a great vanilla flavor
- strawberries – frozen, thawed berries may be used, though fresh tend to be sweeter. I used fresh strawberries in my ice cream.

How to Make Easy Strawberry Ice Cream
- Wash, hull, and chop strawberries. I found that a finer chop was better than leaving large chunks. Sprinkle with 2 Tbsp. sugar. Stir well and set aside.
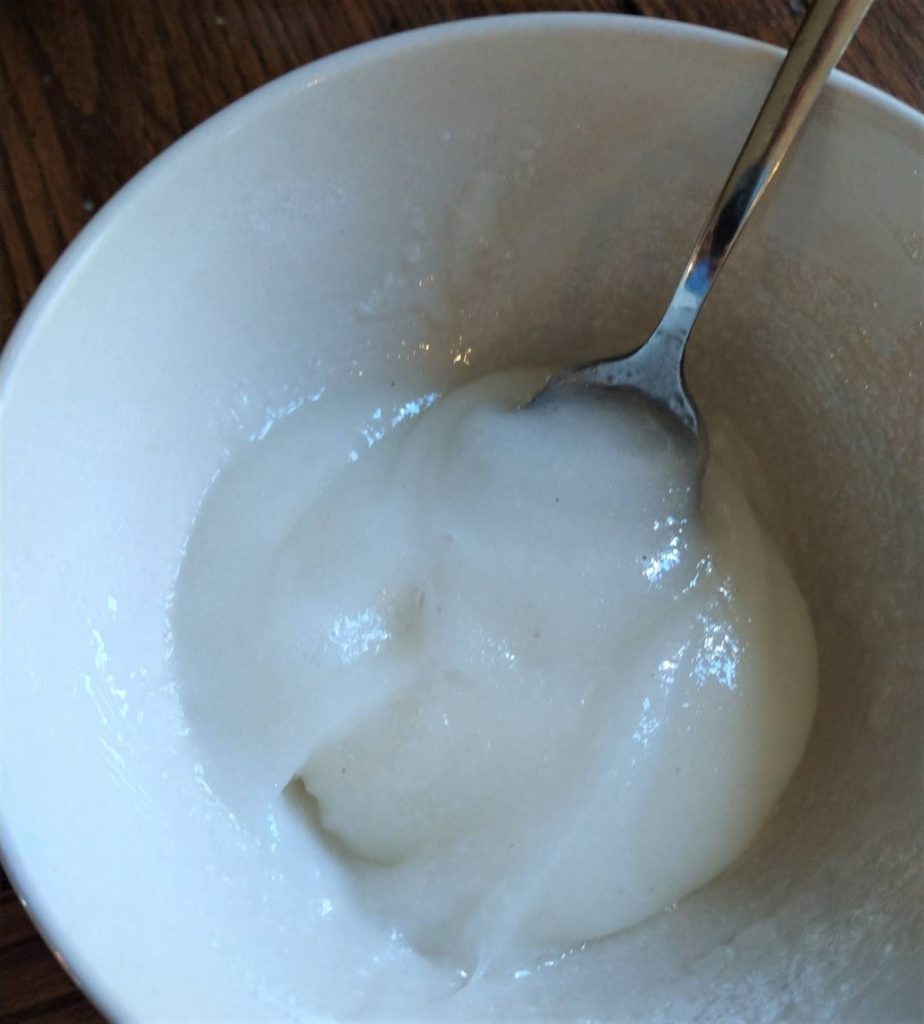
2. In a small bowl, mix together the sugar, cornstarch, corn syrup, and salt into a paste.
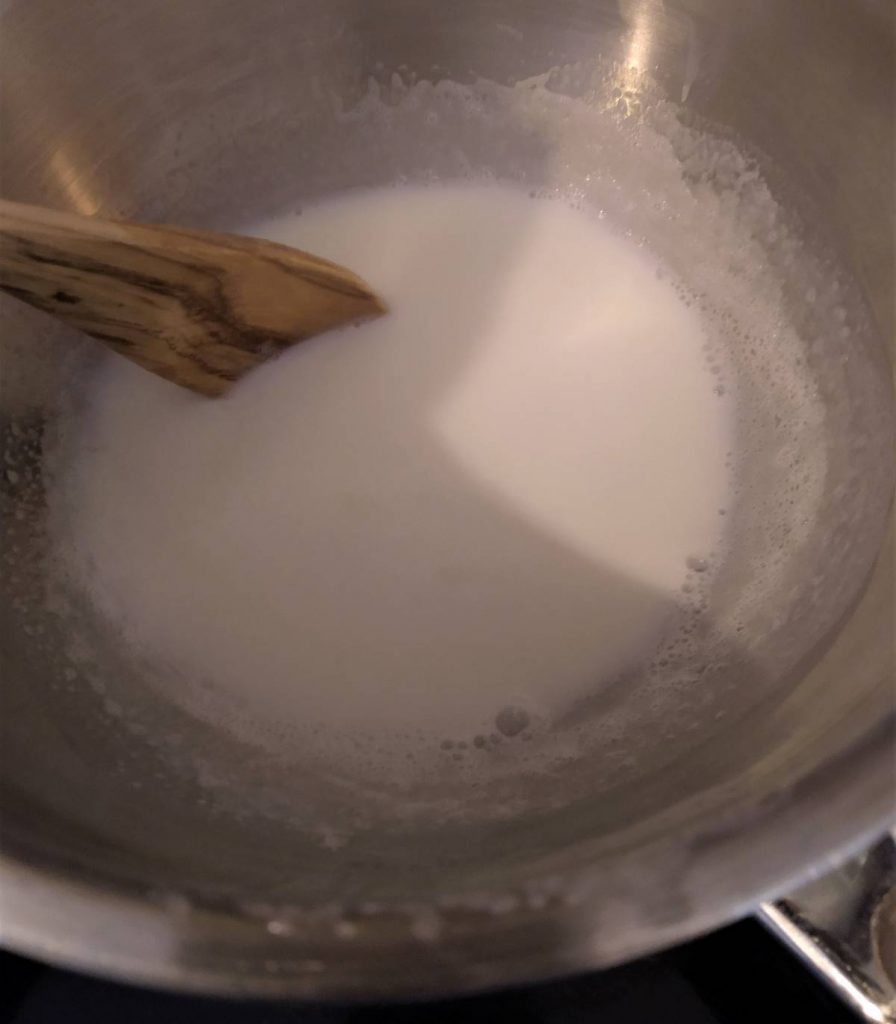
3. Next, scald the milk in a double boiler (or a stainless steel bowl set over a pot). Add the cornstarch/sugar mixture, whisking to combine.
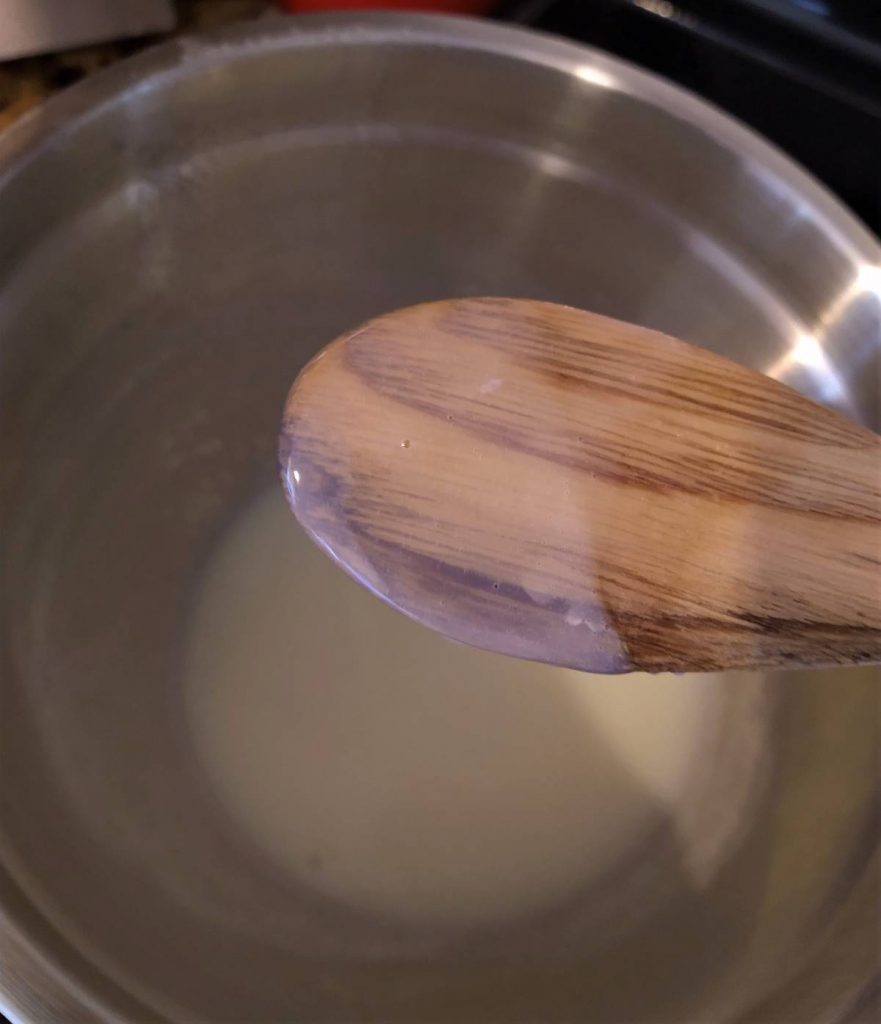
4. Bring to a boil and heat until thick, stirring constantly.
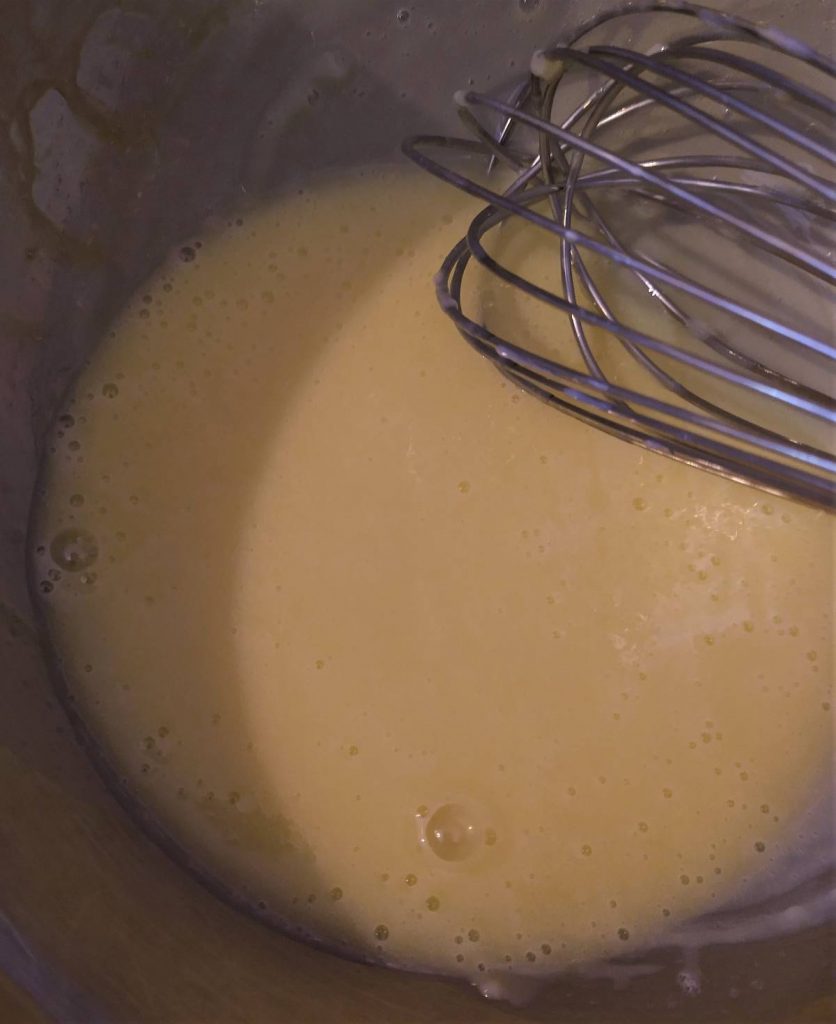
5. Whisk the egg, then slowly add to the cornstarch/sugar mixture, whisking constantly to keep the egg from curdling. Continue cooking for 2 to 3 minutes longer, just long enough to cook the egg.
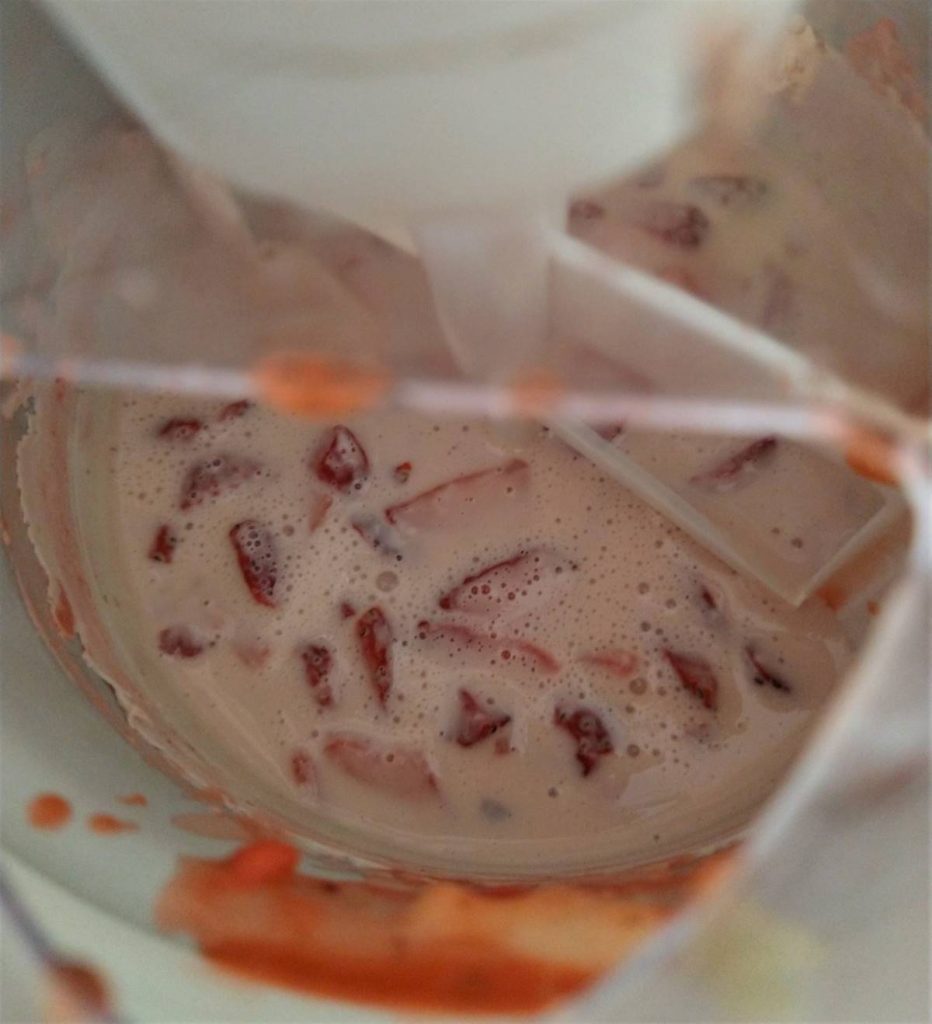
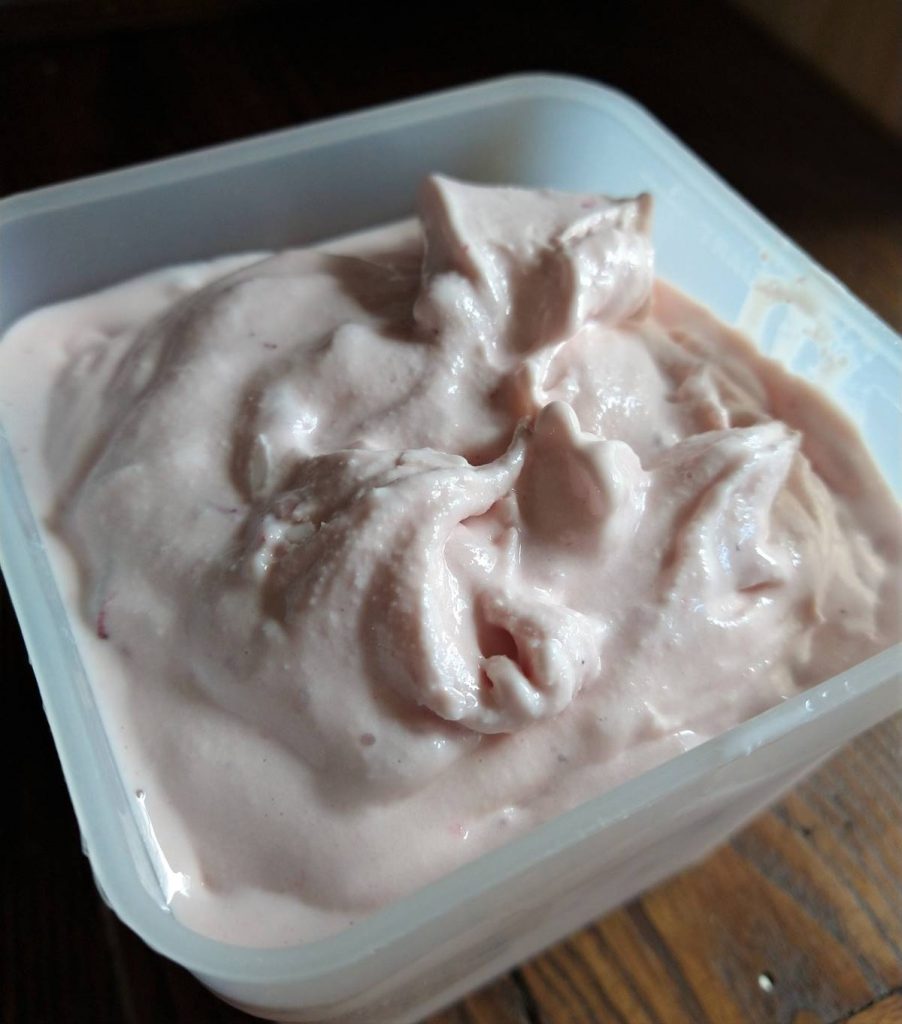
6. Finally, mix together the custard with the cream, vanilla, and strawberries. *Pour into a prepared ice cream mixer and turn it on. Let it mix until the ice cream is nice and thick, the consistency of soft serve ice cream. Eat it right away, or if you’d like a firmer ice cream for scooping, put the ice cream in a container and freeze an additional 2 hours.
*If going the vintage route, pour the mixture into a flat, shallow container and put it in your freezer. Every hour, stir the mixture until it’s soft serve ice cream thickness. Let freeze an additional 1-2 hours after that until it’s firm enough to scoop.
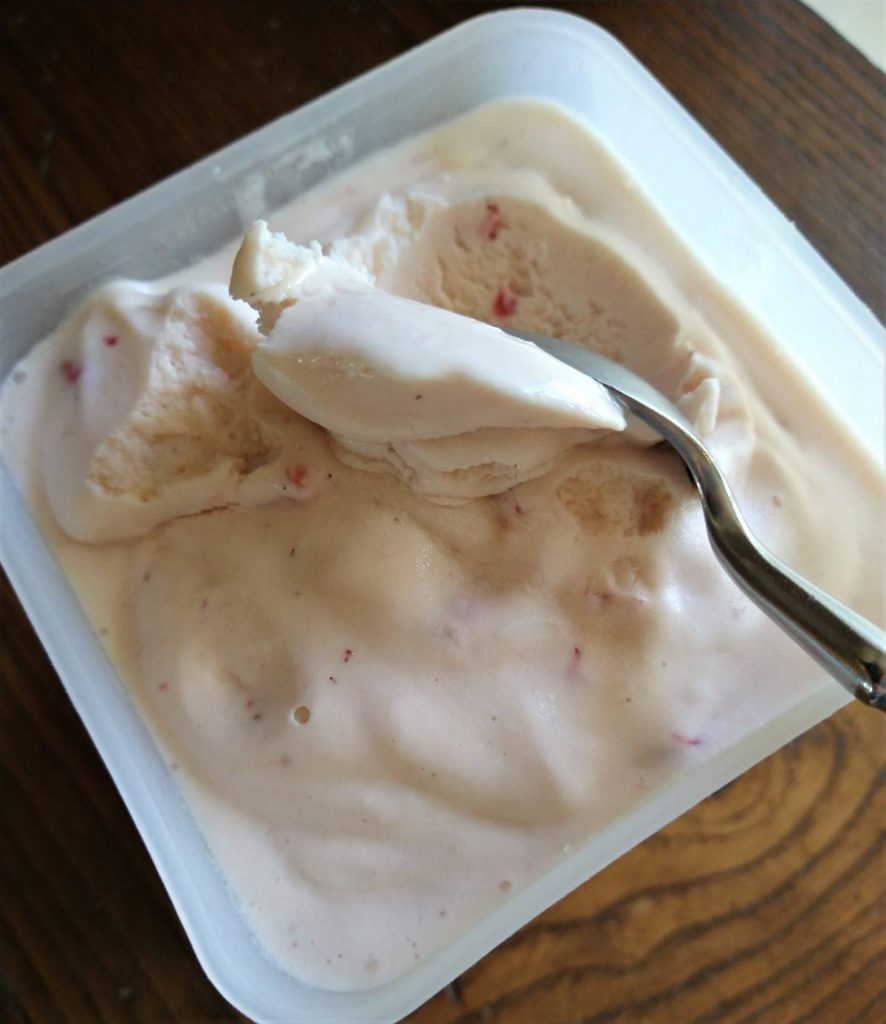
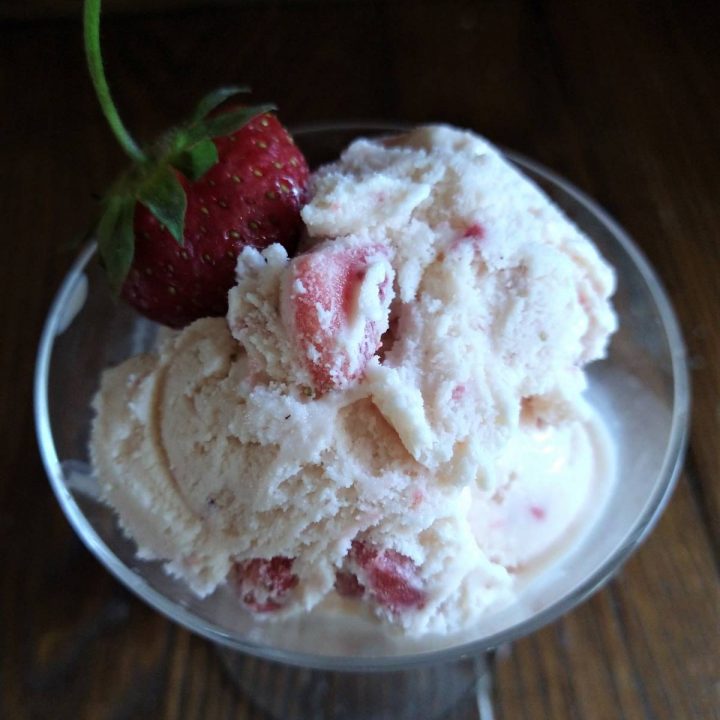
Serve in a dish or on a cone. Makes about 1 pint.
Easy Strawberry Ice Cream
This easy and delicious Strawberry Ice Cream is perfect for when you're short on cream but in need of some summery, good old-fashioned scoops of pink sunshine!
Ingredients
- 1 cup milk
- 1/3 cup sugar
- 1 Tablespoons cornstarch
- 1/4 cup corn syrup
- 1/8 teaspoon salt
- 1 egg
- 1 cup cream
- 3/4 cup fresh strawberries
- 2 Tablespoons sugar
- 1/2 teaspoon vanilla
Instructions
1. Wash, hull, and chop strawberries. I found that a finer chop was better than leaving large chunks. Sprinkle with 2 Tbsp. sugar. Stir well and set aside.
2. In a small bowl, mix together the sugar, cornstarch, corn syrup, and salt into a paste.
3. Next, scald the milk in a double boiler (or a stainless steel bowl set over a pot). Add the cornstarch/sugar mixture, whisking to combine.
4. Bring to a boil and heat until thick, stirring constantly.
5. Whisk the egg, then slowly add to the cornstarch/sugar mixture, whisking constantly to keep the egg from curdling. Continue cooking for 2 to 3 minutes longer, just long enough to cook the egg.
6. Finally, mix together the custard with the cream, vanilla, and strawberries. *Pour into a prepared ice cream mixer and turn it on. Let it mix until the ice cream is nice and thick, the consistency of soft serve ice cream. Eat it right away, or if you'd like a firmer ice cream for scooping, put the ice cream in a container and freeze an additional 2 hours.
*If going the vintage route, pour the mixture into a flat, shallow container and put it in your freezer. Every hour, stir the mixture until it's soft serve ice cream thickness. Let freeze an additional 1-2 hours after that until it's firm enough to scoop.
7. Serve in a dish or on a cone. Makes about 1 1/2 pints.